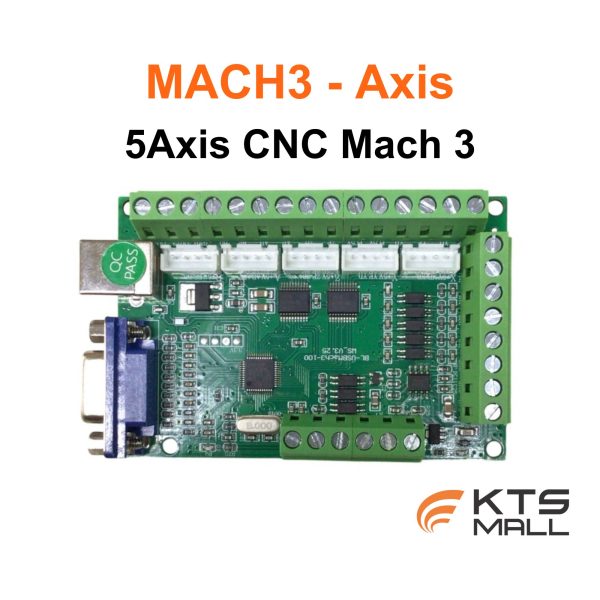


5-axis CNC Mach3 Interface Board Controller
ITEM : Stepper Servo Motor Control Board 5 Axis CNC Mach 3 Interface Board Controller Breakout Board Interface Drive Motion Controller
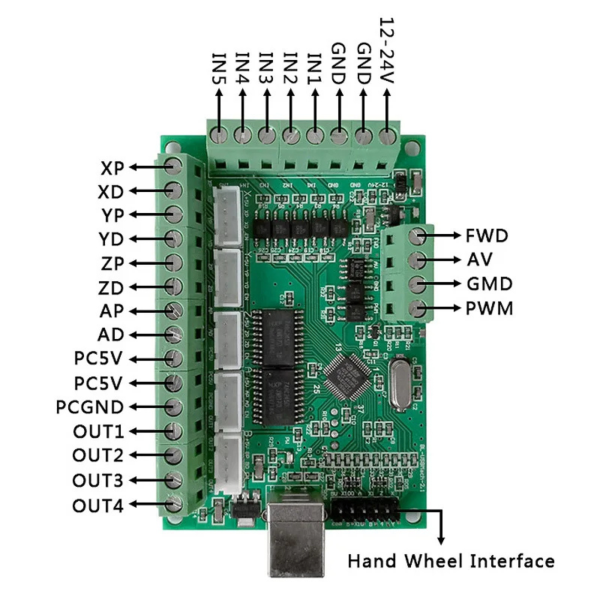
การเชื่อมต่อและใช้งานเบื้องต้นของบอร์ดนี้
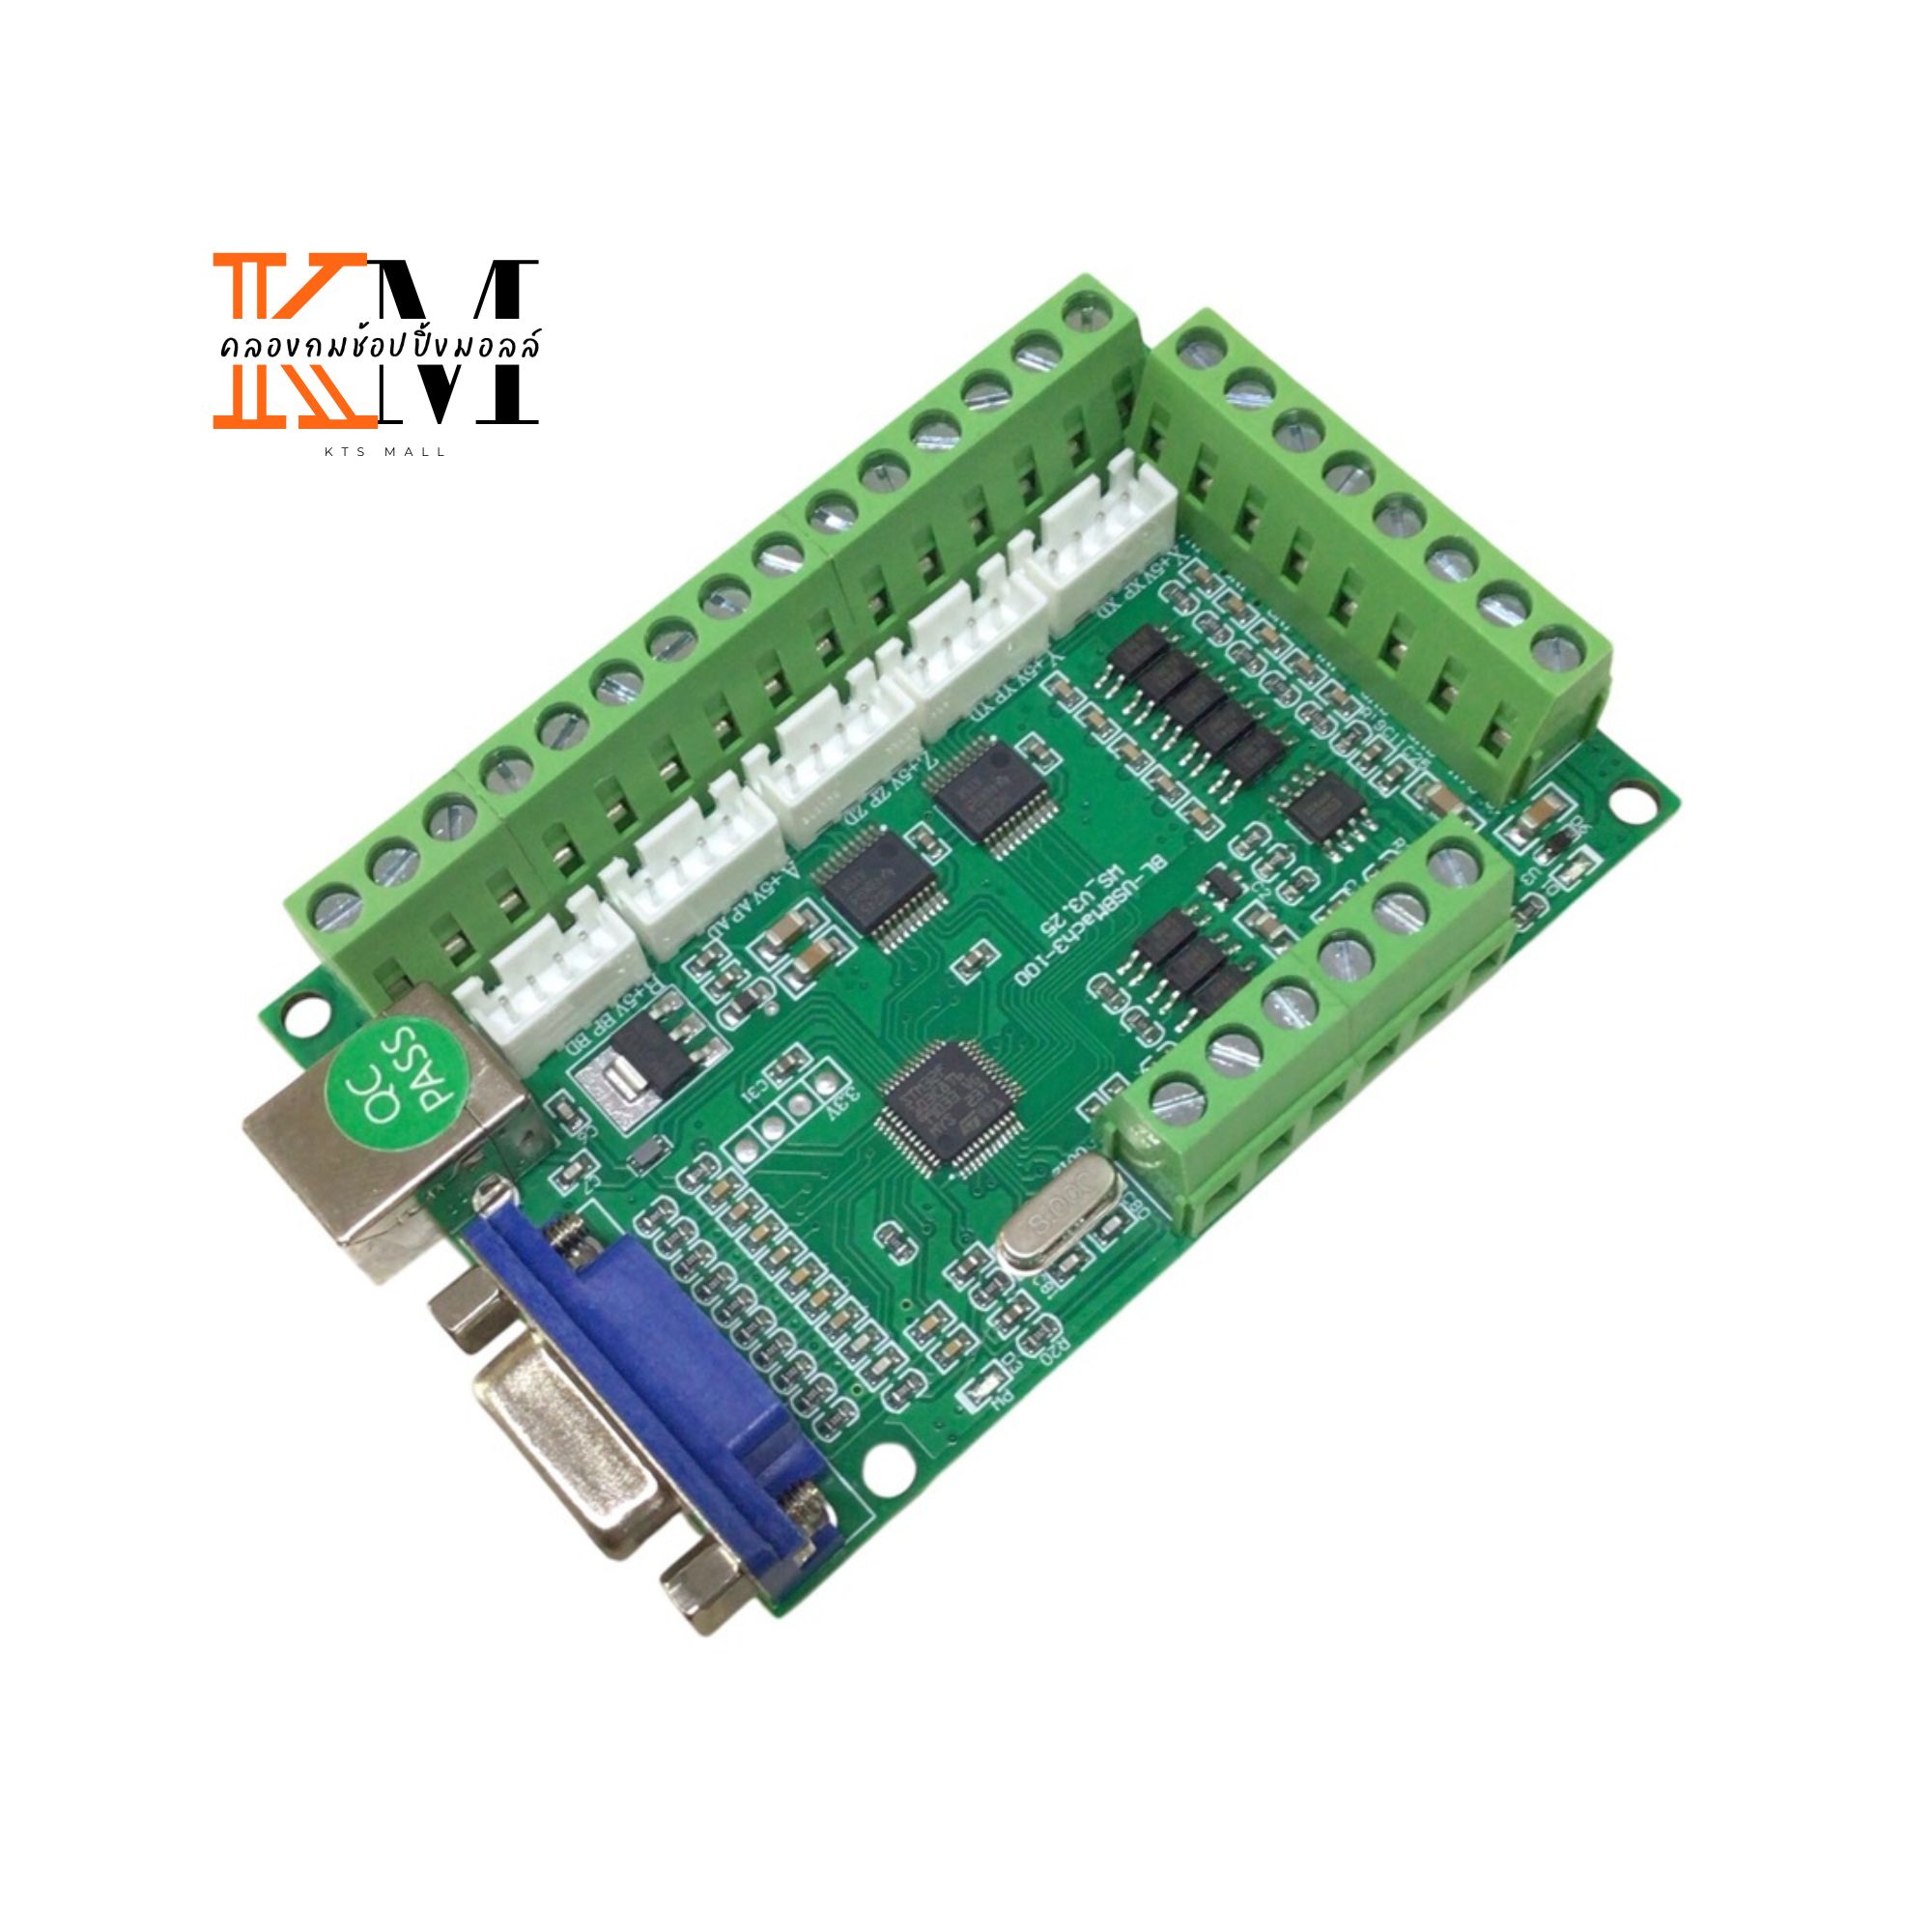
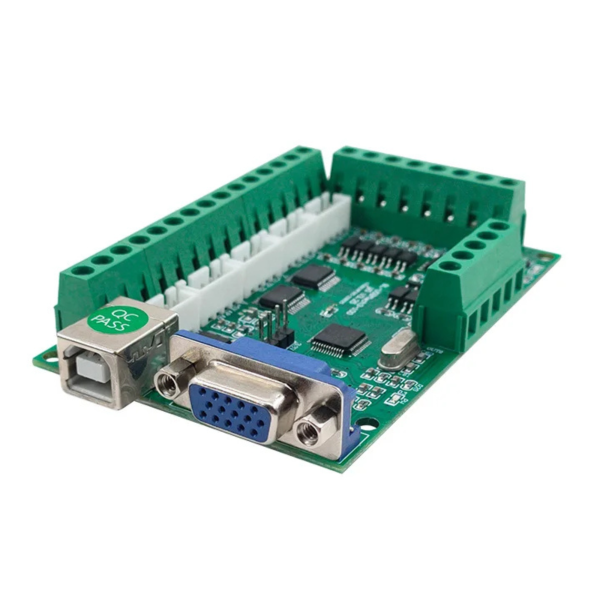
พอร์ตสำคัญ:
พอร์ต LPT25 (DB25) – ใช้เชื่อมกับพีซีที่มีพอร์ต Parallel หรือผ่าน PCI-LPT Card
พอร์ต USB – สำหรับ จ่ายไฟให้บอร์ดเท่านั้น (ไม่ส่งข้อมูล USB)
ขั้วต่อสีเขียว (Terminal Blocks):
สำหรับต่อสายสัญญาณไปยัง Driver (Stepper/Servo)
มี 5 แกน: X, Y, Z, A, B
สัญญาณ Step/Dir
Input/Output อื่นๆ เช่น:
Limit Switch
Emergency Stop (ESTOP)
Spindle Relay
การตั้งค่าใน Mach3
1. เปิด Mach3 > ไปที่ Config > Ports and Pins
➤ แท็บ “Port Setup and Axis Selection”
Enable Port #1: ✅
Port Address: 0x378 (ค่าพื้นฐานของ LPT1)
➤ แท็บ “Motor Outputs”
กำหนด Pin Number ของแต่ละแกน:
(ให้เช็คคู่มือบอร์ดด้วย แต่ค่าพื้นฐานจะประมาณนี้)
| Axis | Step Pin | Dir Pin | Enable |
|---|---|---|---|
| X | 2 | 3 | ✔ |
| Y | 4 | 5 | ✔ |
| Z | 6 | 7 | ✔ |
| A | 8 | 9 | ✔ |
| B | 1 | 14 | ✔ |
➤ แท็บ “Input Signals”
EStop: Pin 10 หรือ 11 (ขึ้นกับการต่อสาย)
X+/X-/Y+/Y-/Z+/Z- Limit: Pin 10–13 หรือ 15
➤ แท็บ “Output Signals”
Spindle Relay: ปกติใช้ Pin 17 (ON/OFF)
Coolant หรืออุปกรณ์เสริมอื่นๆ ใช้ 16, 14 ได้
หมายเหตุ:
ต้องใช้ Mach3 เวอร์ชันที่รองรับ Parallel Port (เช่น Windows XP / 7 32-bit)
Windows 10/11 หรือ 64-bit: จะไม่สามารถใช้งานพอร์ต LPT ได้โดยตรง — ต้องใช้ motion controller แบบ USB (เช่น Mach3 UC100, NVEM, หรือ DSP controller)
การทดสอบเบื้องต้น
ต่อบอร์ดเข้าพีซีผ่าน LPT
จ่ายไฟให้บอร์ดผ่าน USB
ต่อมอเตอร์ผ่าน driver
เปิด Mach3 แล้วลอง Jog แกน
สังเกตไฟบนบอร์ด และการเคลื่อนที่ของมอเตอร์
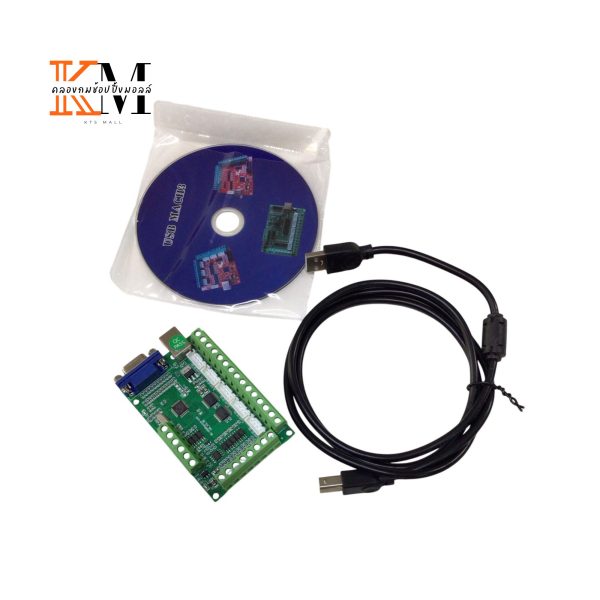
การบรรจุ
1* Mach3 USB Controller Card
1* Cable
1* CD – Program (Mach3) & Manual